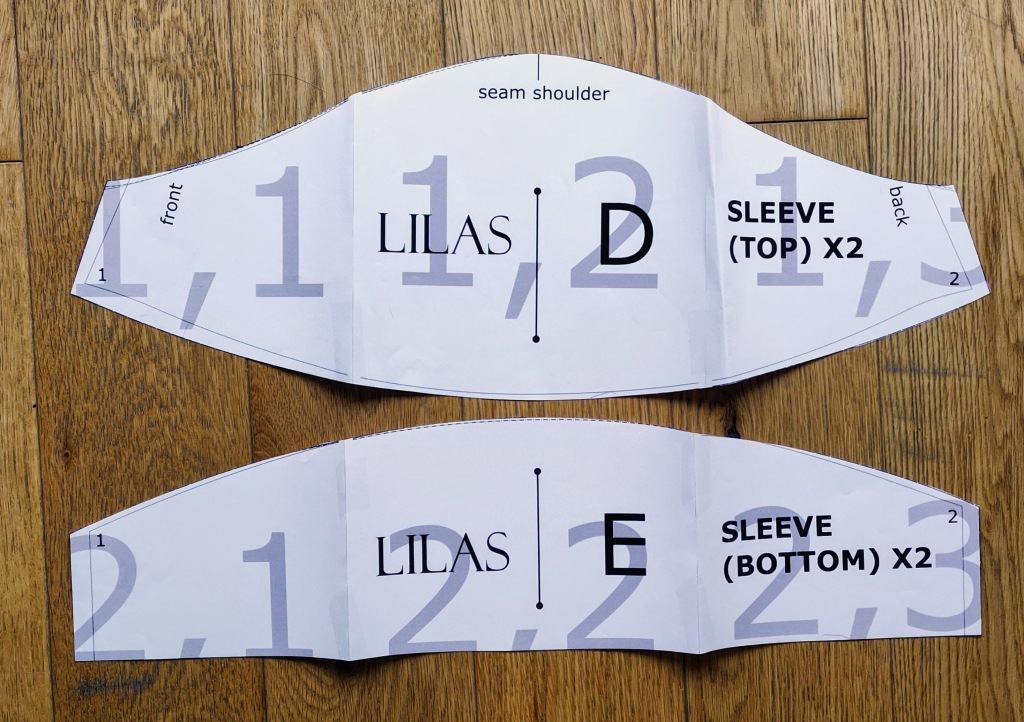
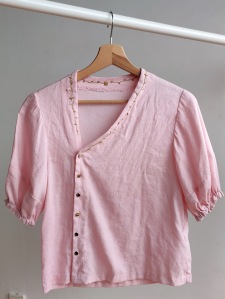
Today I want to share this sweet pink creation using Lilas Blouse pattern from the French indie brand Lysimaque Sew. As you know, I can’t resist a puffy sleeve ! What’s special about this pattern is the lantern sleeve design. Instead of gathers at the top and bottom of the sleeve, the fullness is added in the center by joining these 2 curved pieces :
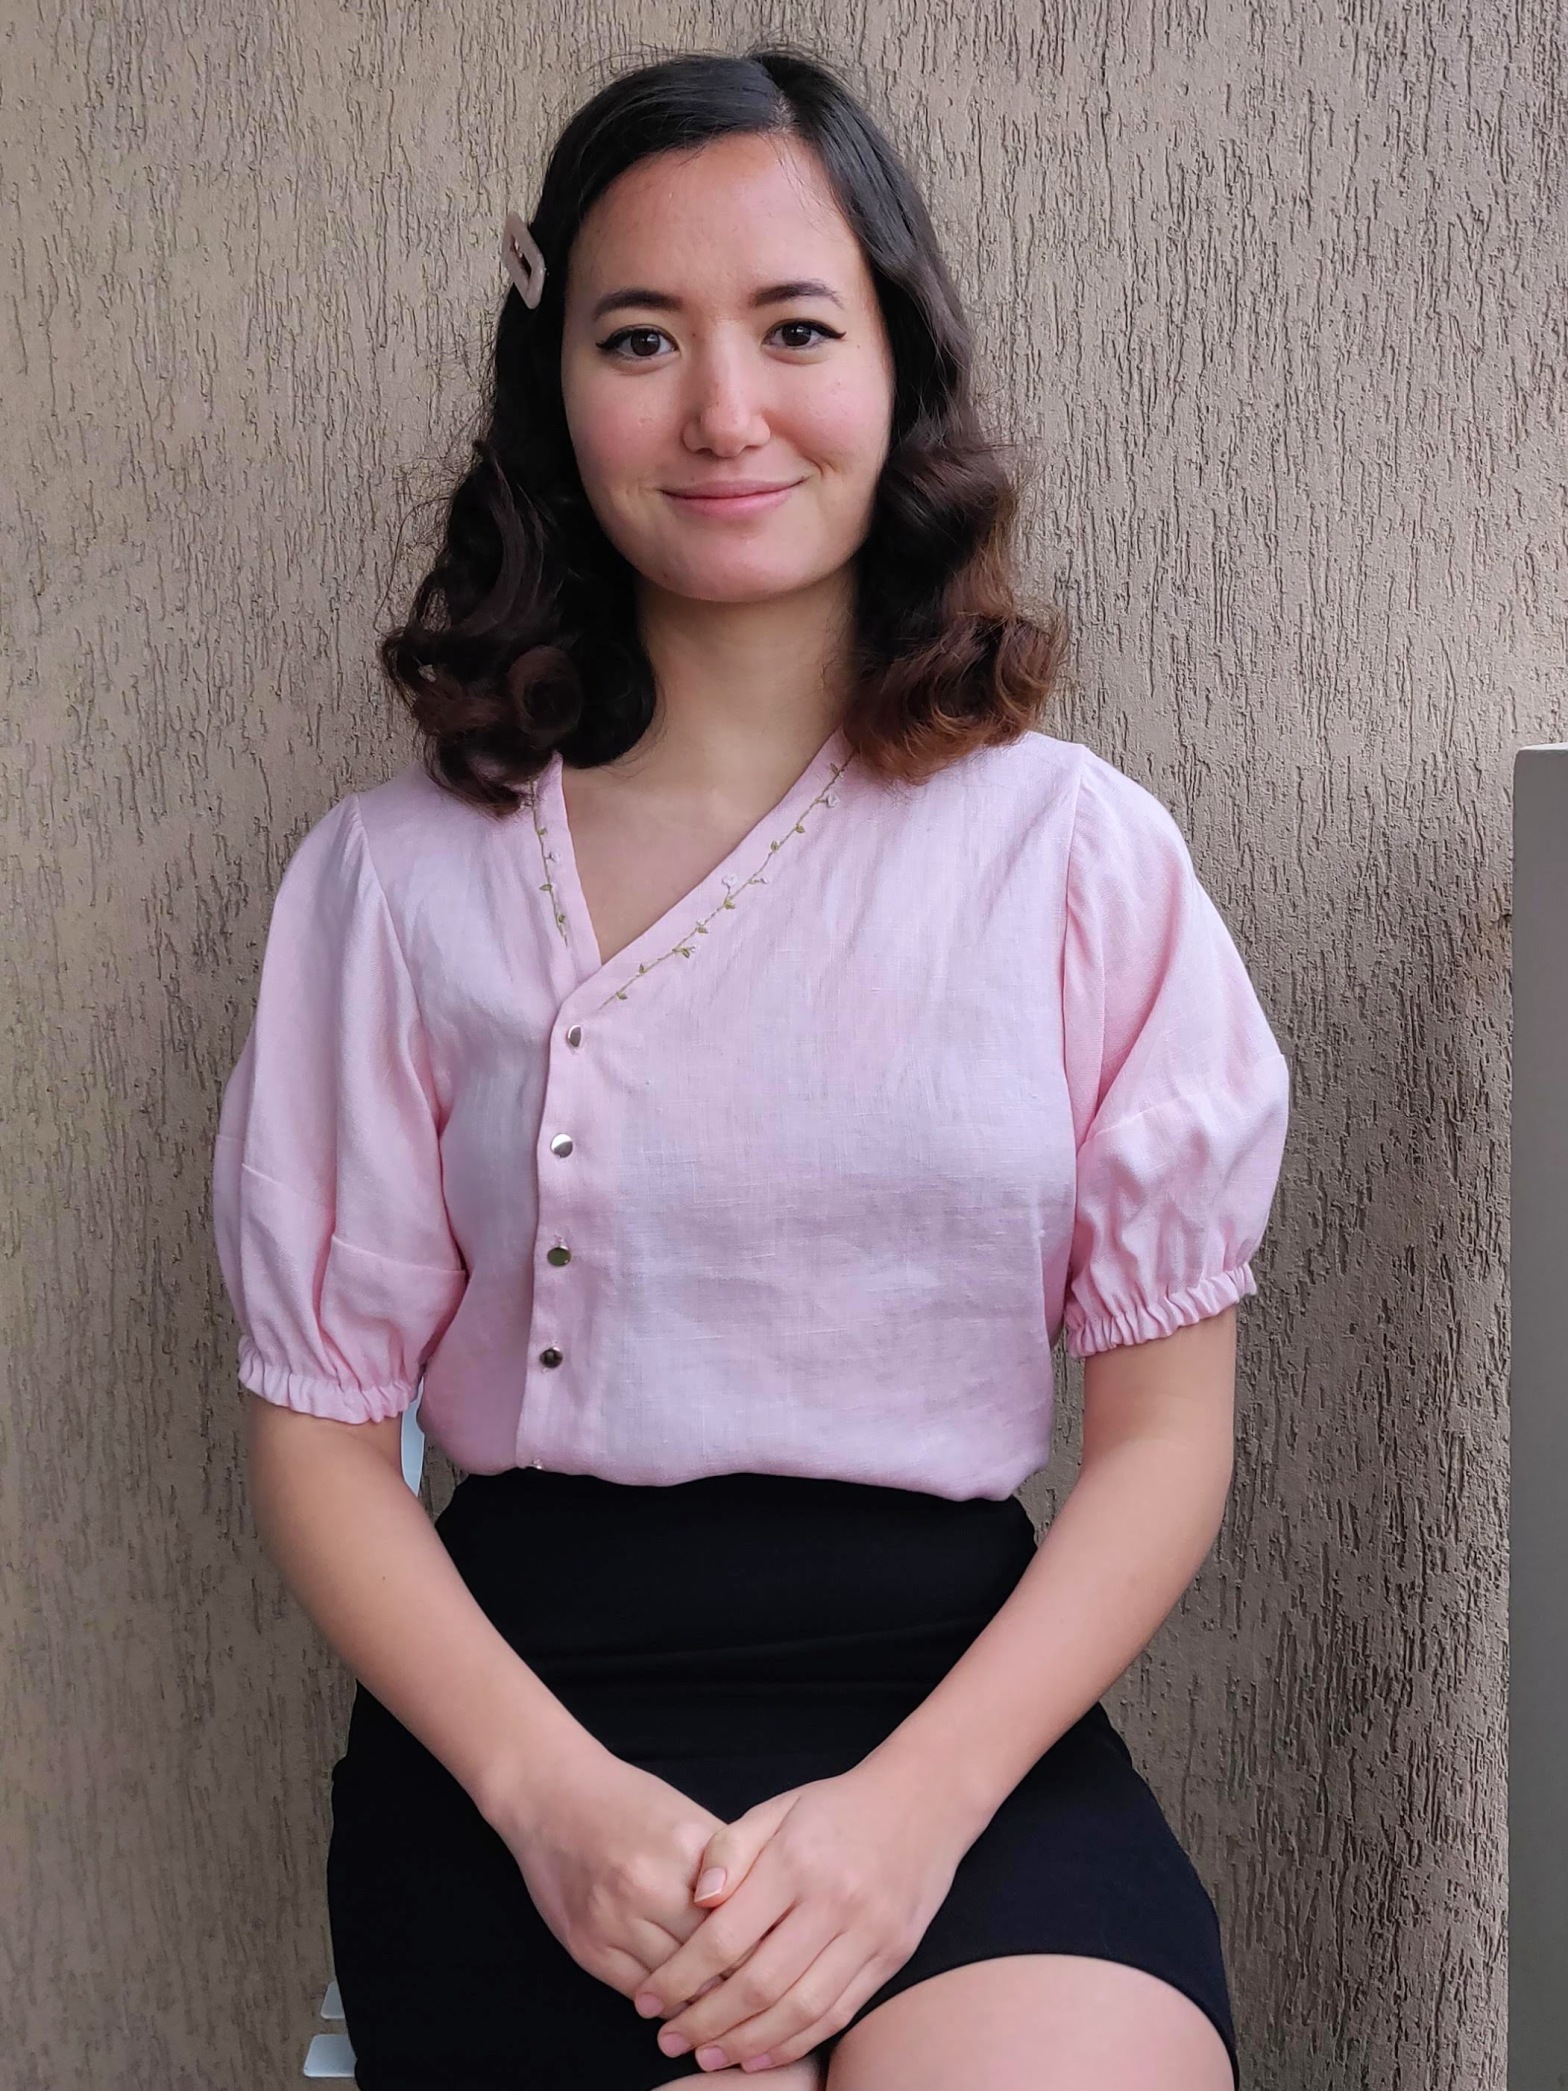
The other element which led me purchase the pattern is the asymmetric front bodice. This is not a common feature of my current to wardrobe, so I enjoy the novelty while still keeping the garment understated and wearable.
This is a quick and satisfying sew, despite the fact that it has buttons.
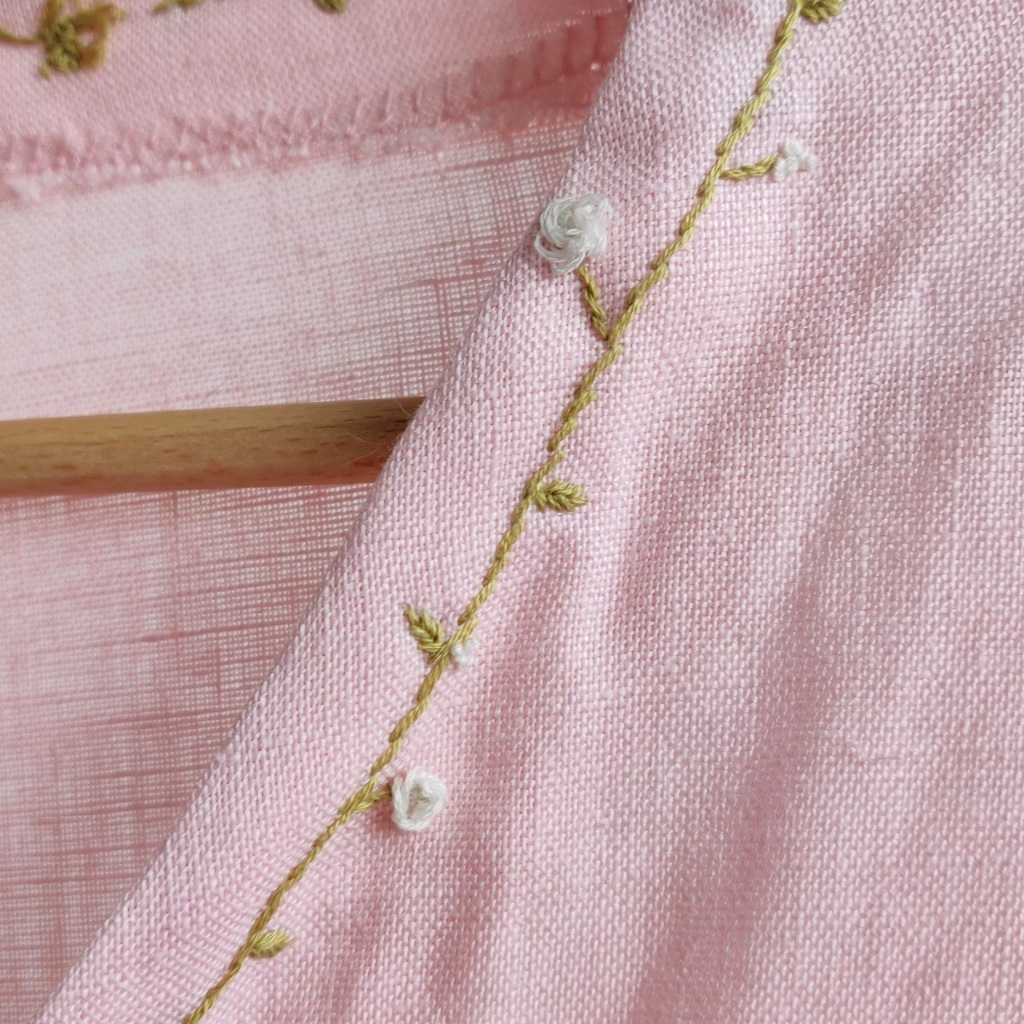
I felt inspired by spring to add some embroidery around the neckline. Embroidery is an activity I only do off-and-on, but staying at home so much as part of the covid lockdown makes it easier to slow down and take part of these slower techniques to embellish my garments.
I used a looped blanket stitch for the bloomed flowers, french knots for the buds, and fishbone stitches for the leaves.
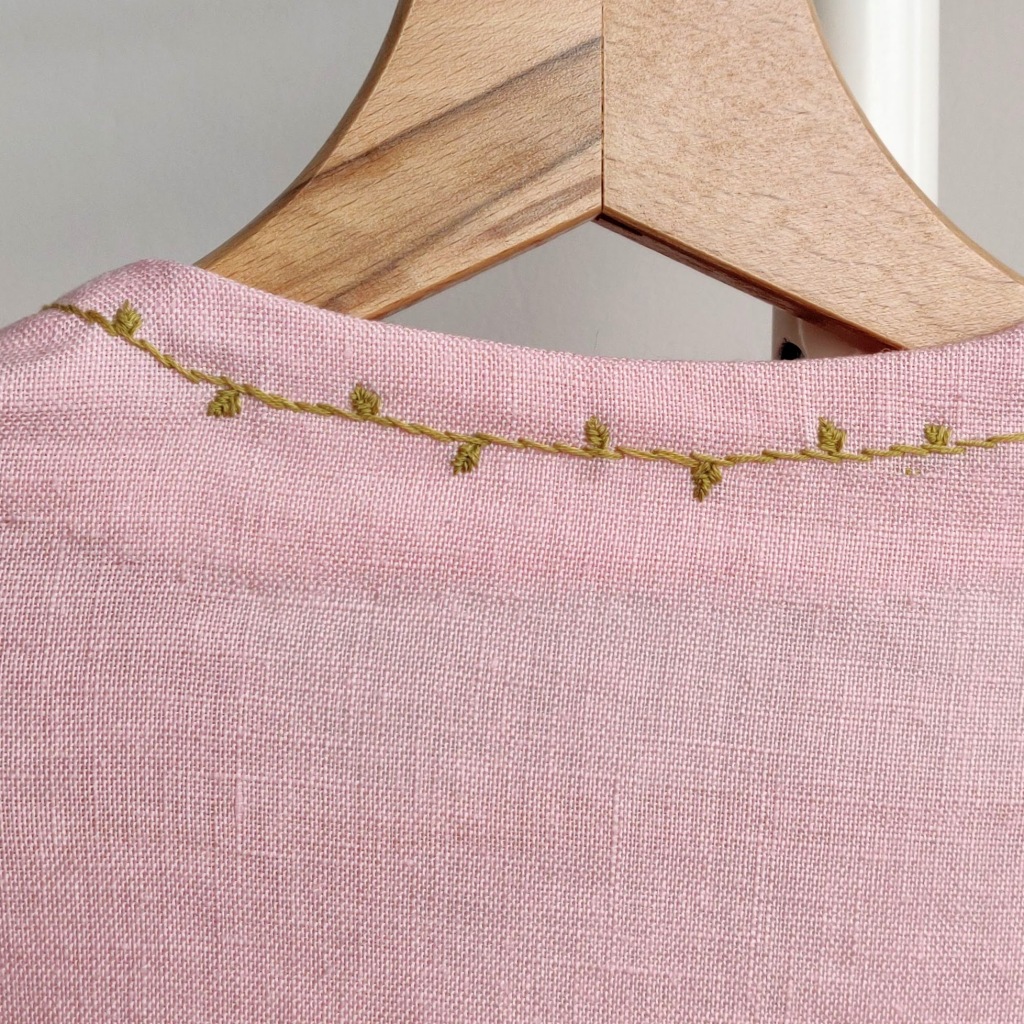
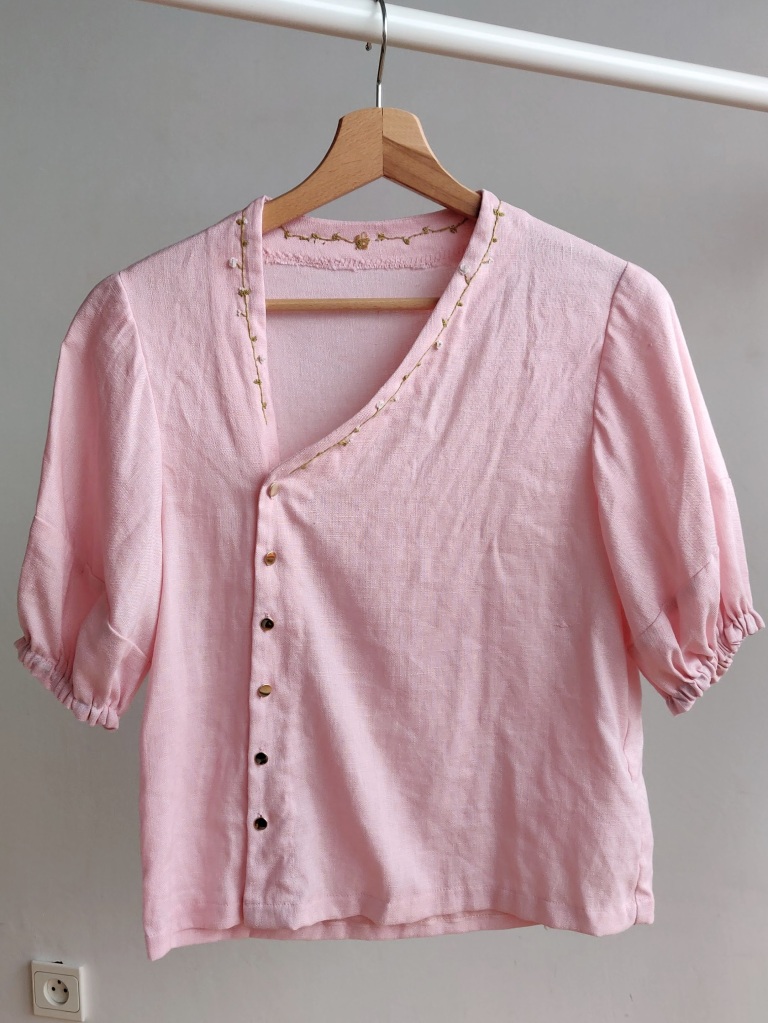
Since the back neckline won’t be as visible because of my hair, I only kept the vine and leaves.
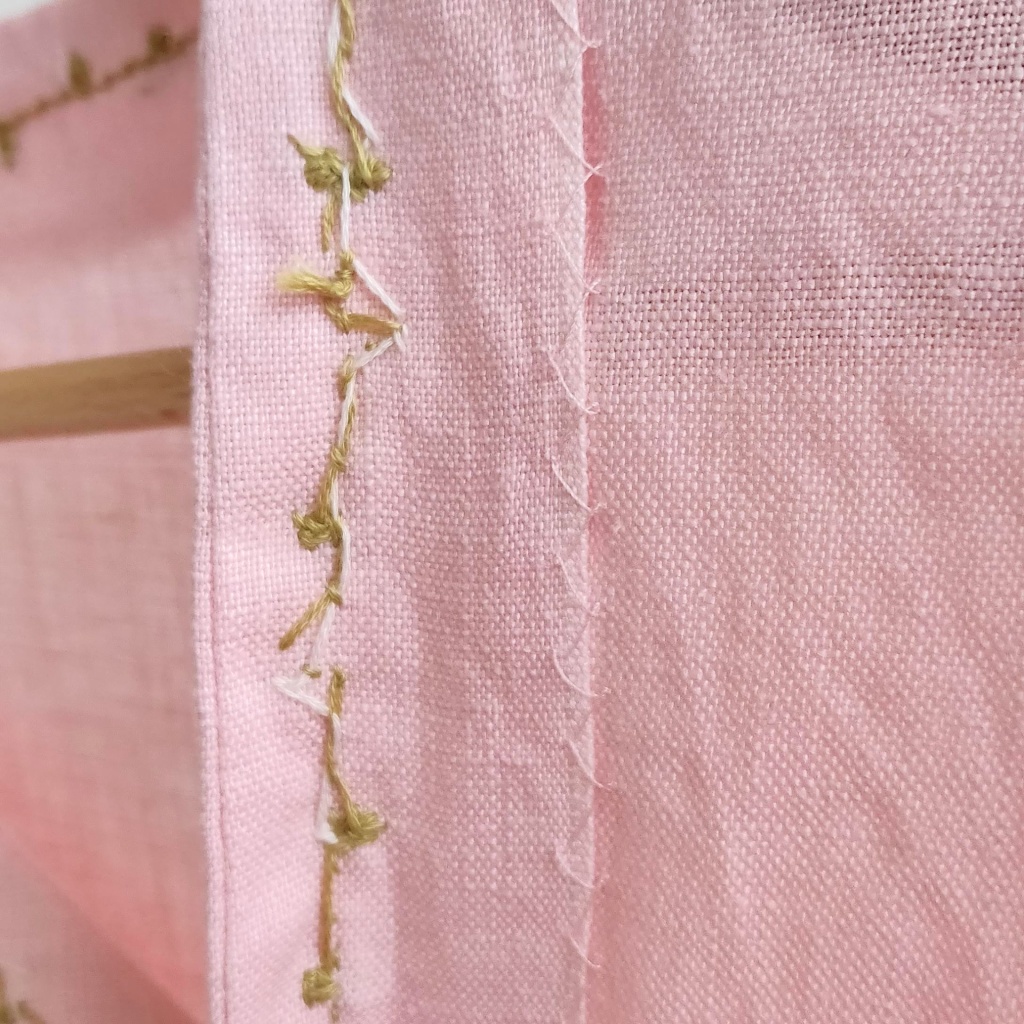
To finish the facing, I used an overlocker sewing machine stitch and then hand sewed it to the main fabric using a catch-stitch so that everything is invisible from the right side.
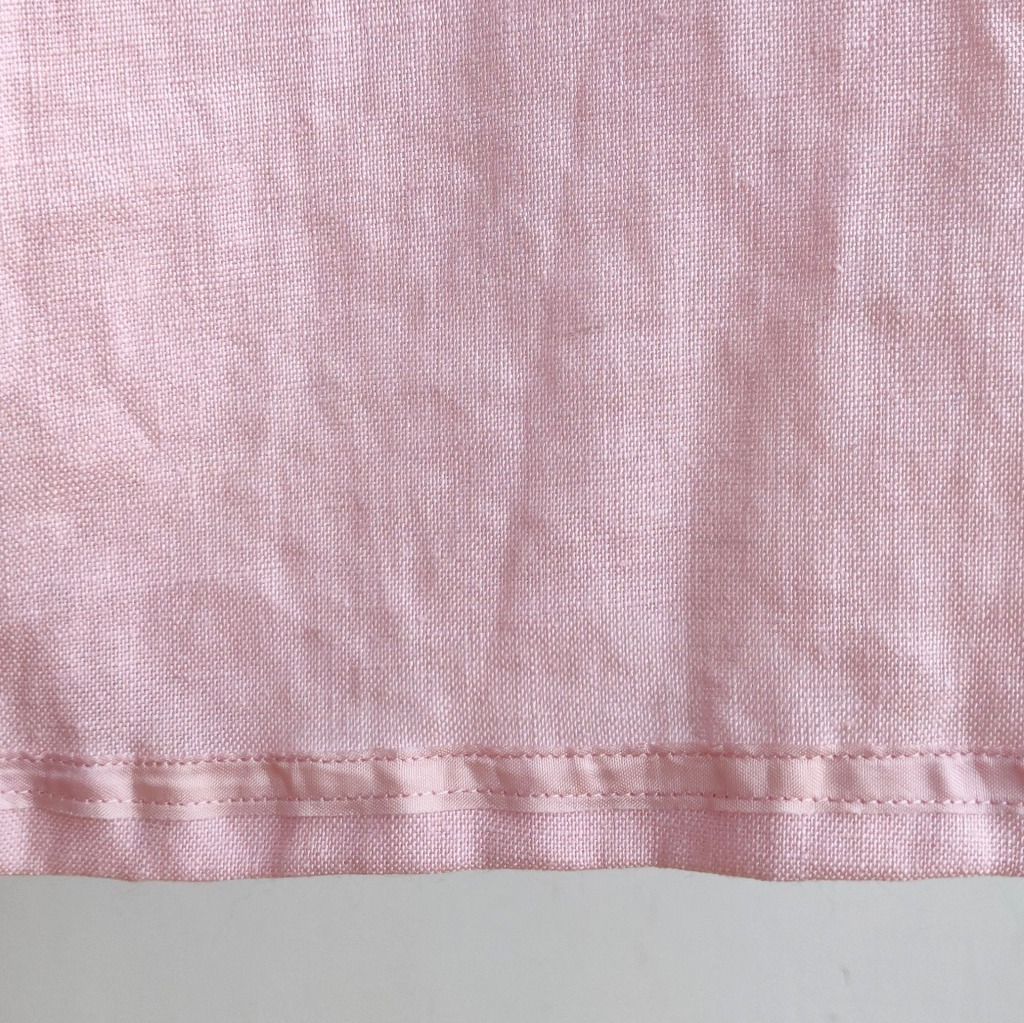
For the bottom hem, I used this perfectly matching vintage seam tape for a clean and non-bulky finish
This is now the second time I’ve sewn this pattern. I always find it interesting to see which patterns I reach for more than once and how they evolve each time. The first version I made used white linen and and some beautiful rich green vintage buttons from my stash. Don’t you just love it when people find old sewing supplies in their house and gift them to you ? 🤩
The main difference between the two is that I sewed one of them inside out. It’s very obvious with the asymmetric design !
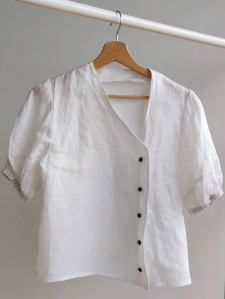
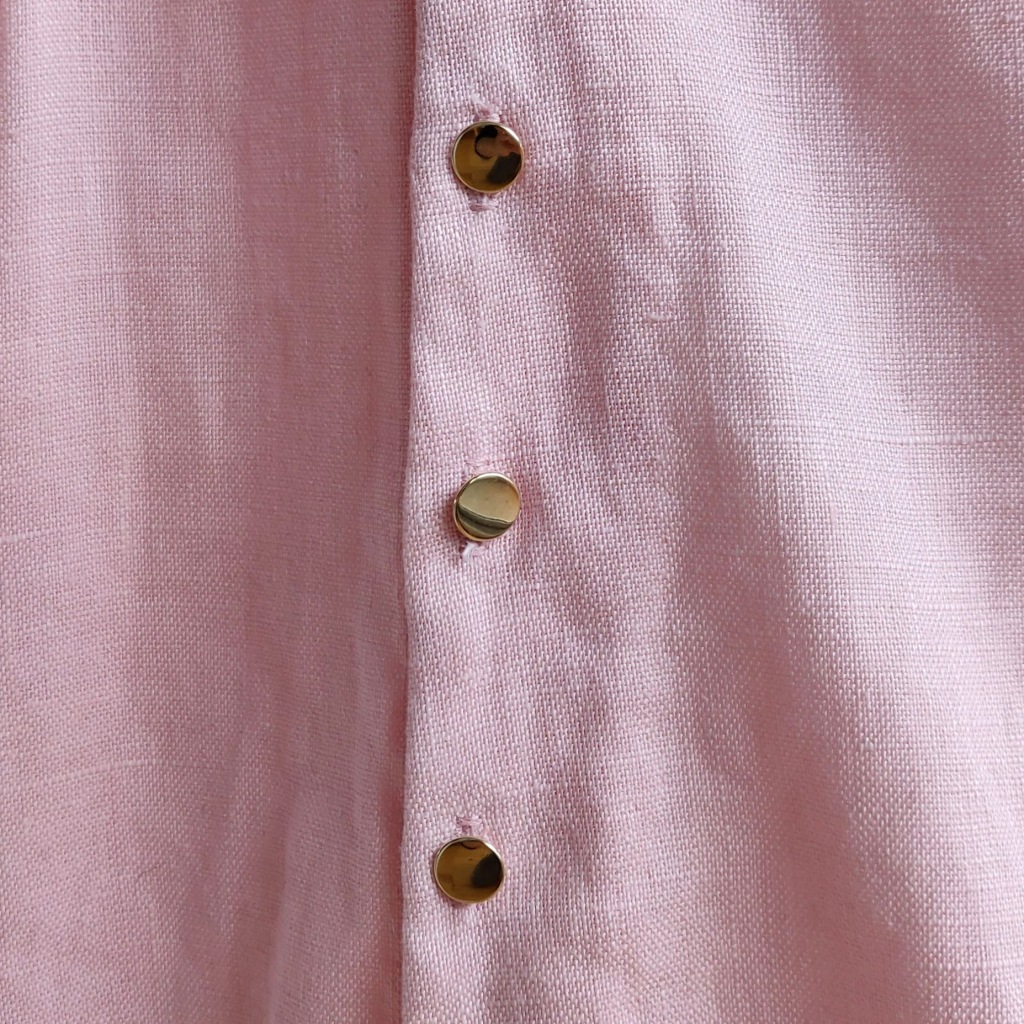
There are 2 intentional changes I made on the pink version. First, I placed my buttonholes closer to the edge to avoid the excess fabric from awkwardly flapping out.
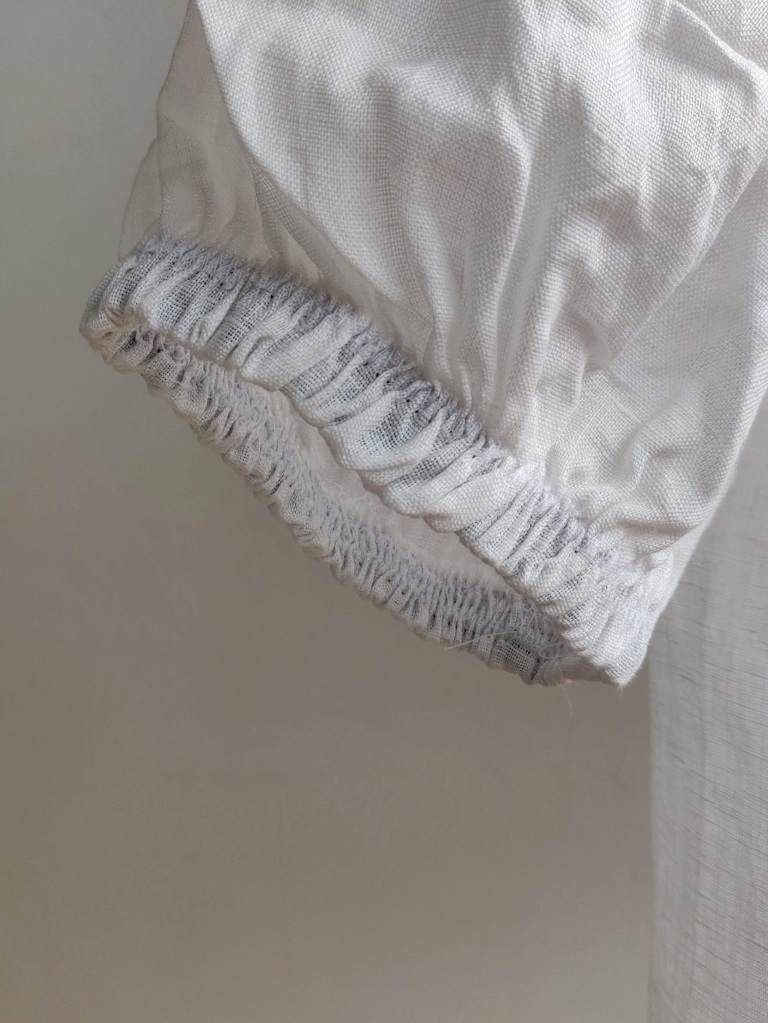
Secondly, I finished the arm elastics differently. On the white version I finished the sleeve edge with a zig zag stitch, folded it over the elastic, and then zig zagged the layers together.
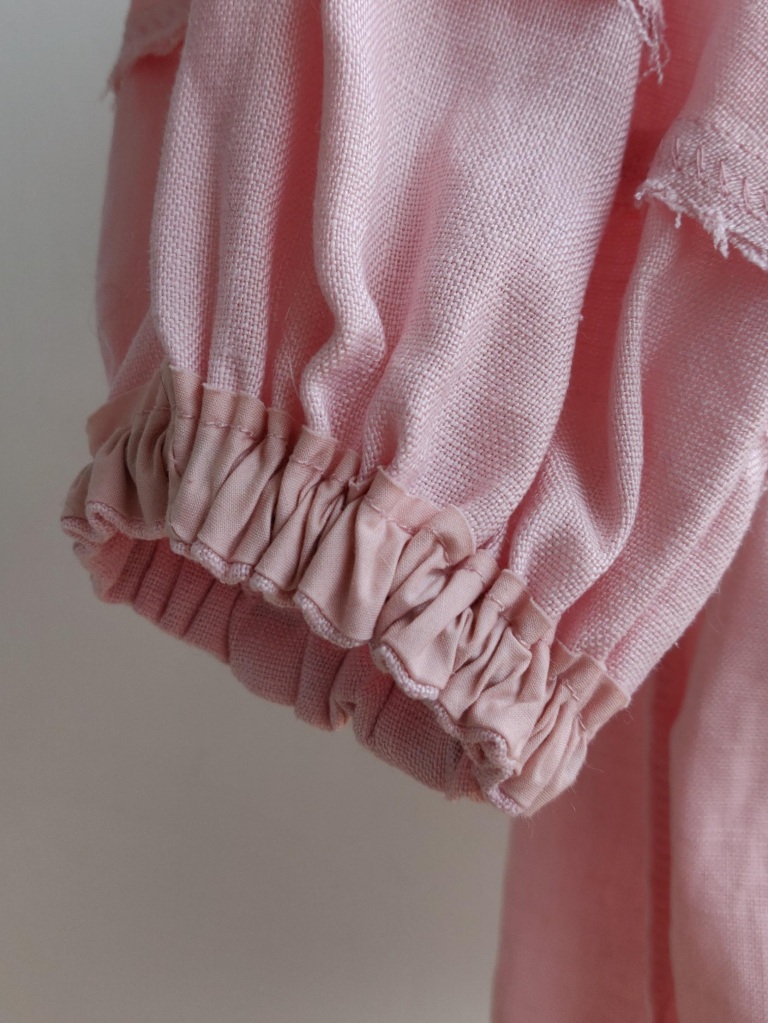
On the pink version I attached some leftover pink self-made bias tape to the raw sleeve edge, folded it inward, and stitched around the edge of the bias to create a channel. I then slid in my pre-measured elastic using a safety pin, joined ends with a zig zag stitch, and then sewed up the small opening in the channel I had just used.
The pink version has a nicer looking finish. I also find this method easier since the gathering is naturally spread out in the end vs having to stretch the elastic while on the machine. And please learn from me: use white elastic with light colored fabrics !
So what’s your favorite kind of puffy sleeve ? I would love to try out a gigot sleeve. So many ☁️puffy☁️ sleeves and so little time !
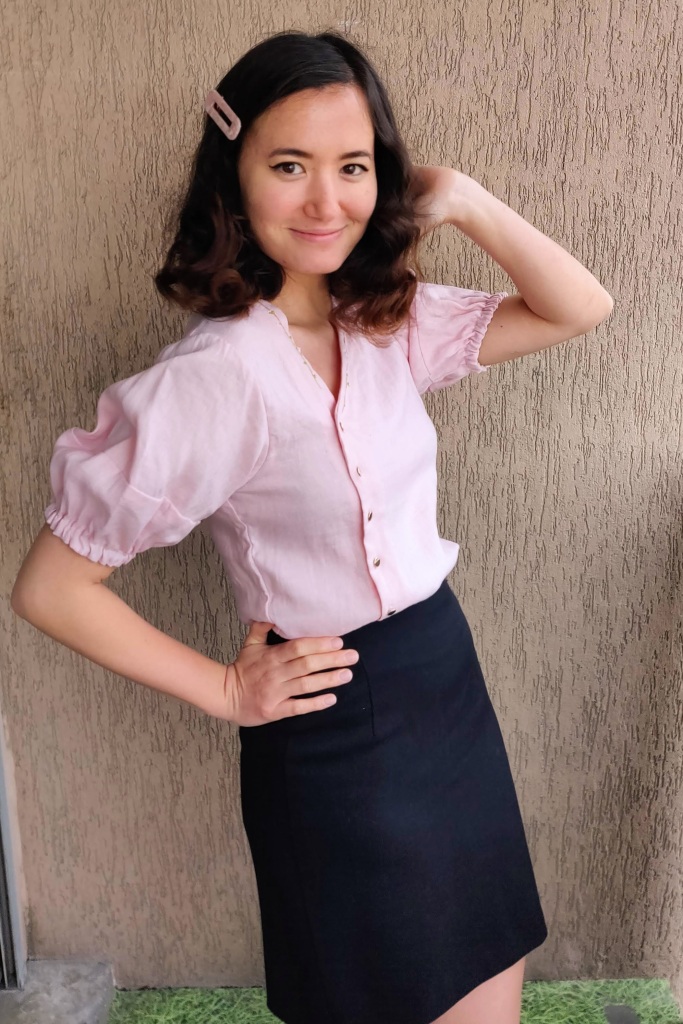
Until next time, here’s my “I’m fab” pose :