You know how you have those fabric scraps that are too big to throw away, but never big enough to actually make what you want ? Well I’ve been going through mine in an attempt to get all my fabric to fit on its dedicated shelf space in my new apartment.
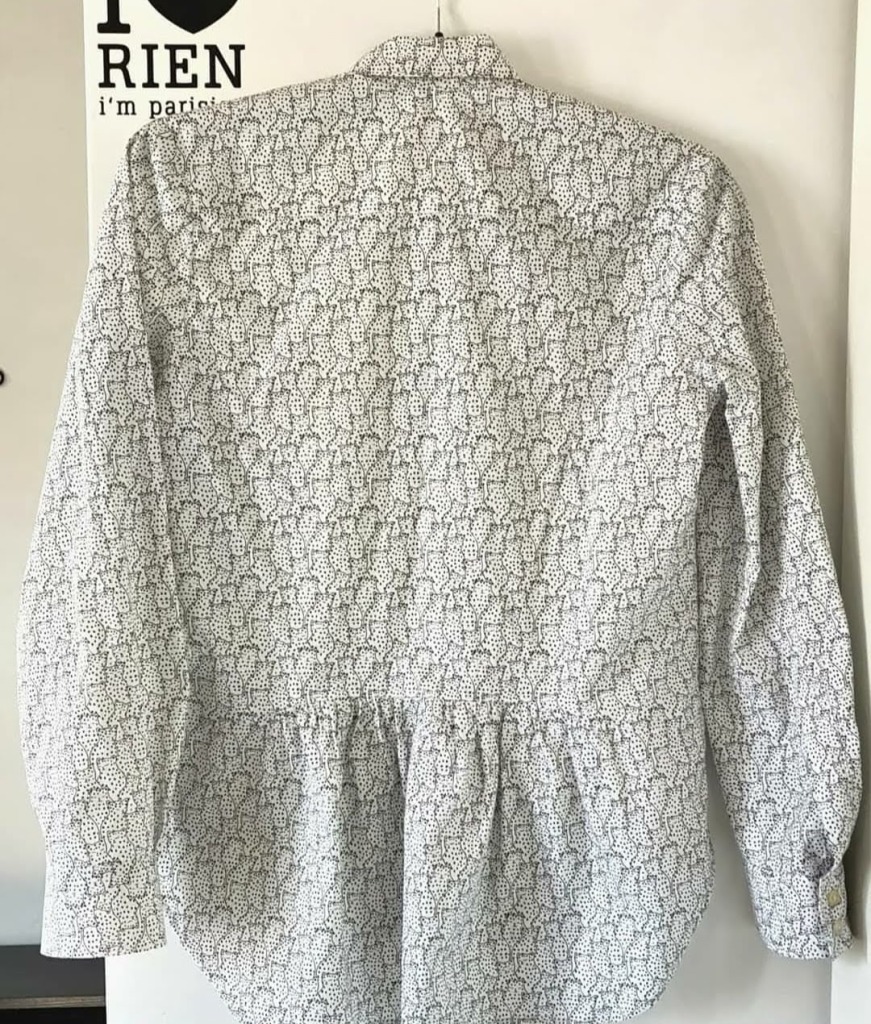
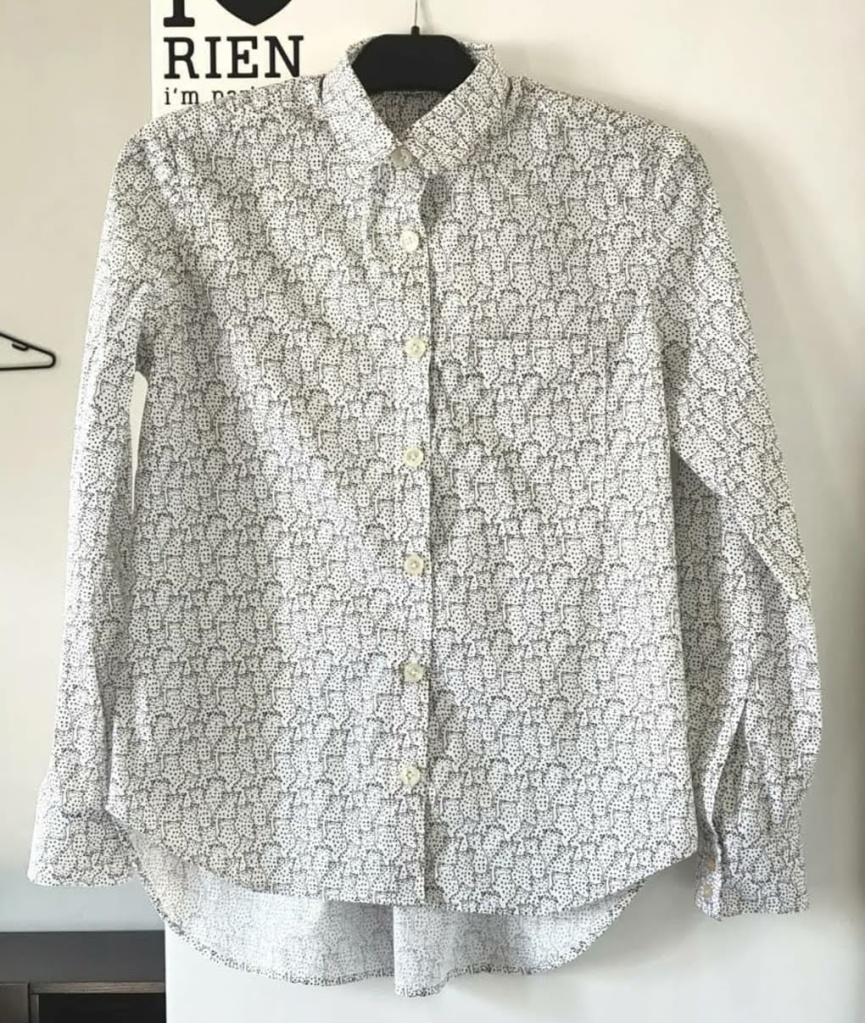
I came across a piece of this cotton poplin from Mondial Tissus, which I used to make a Grainline Studio Archer Buttonup.
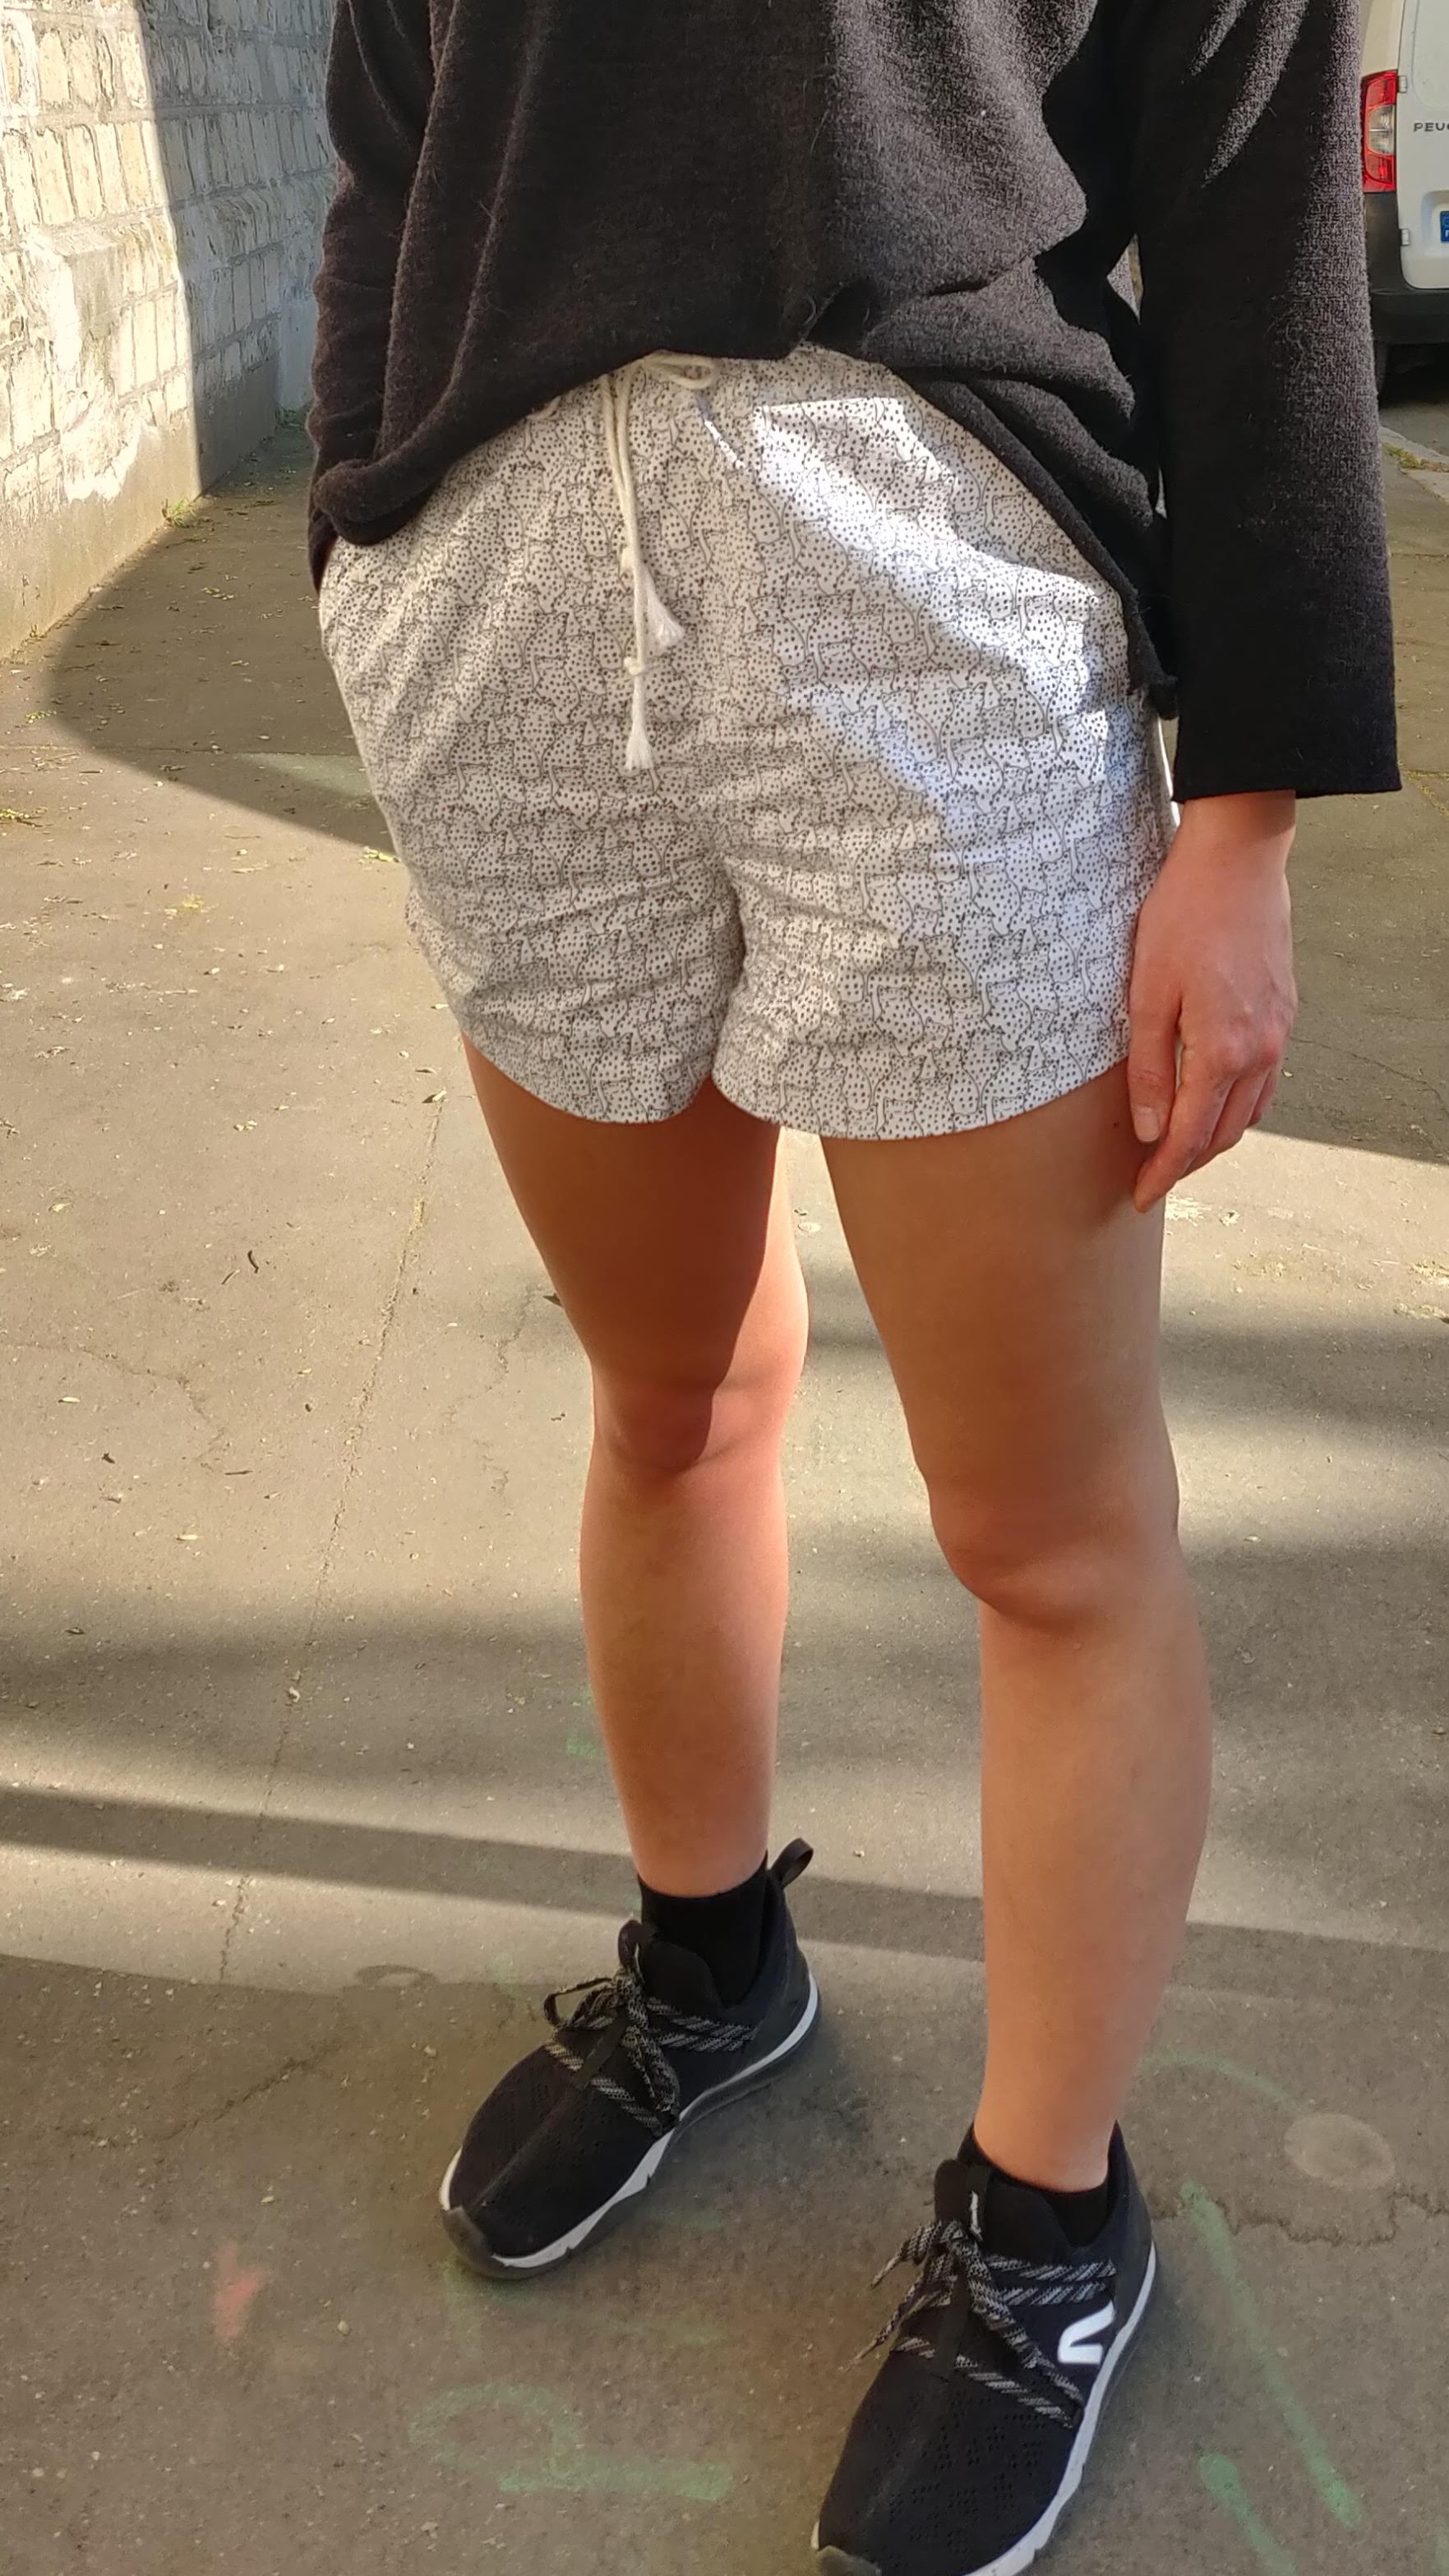
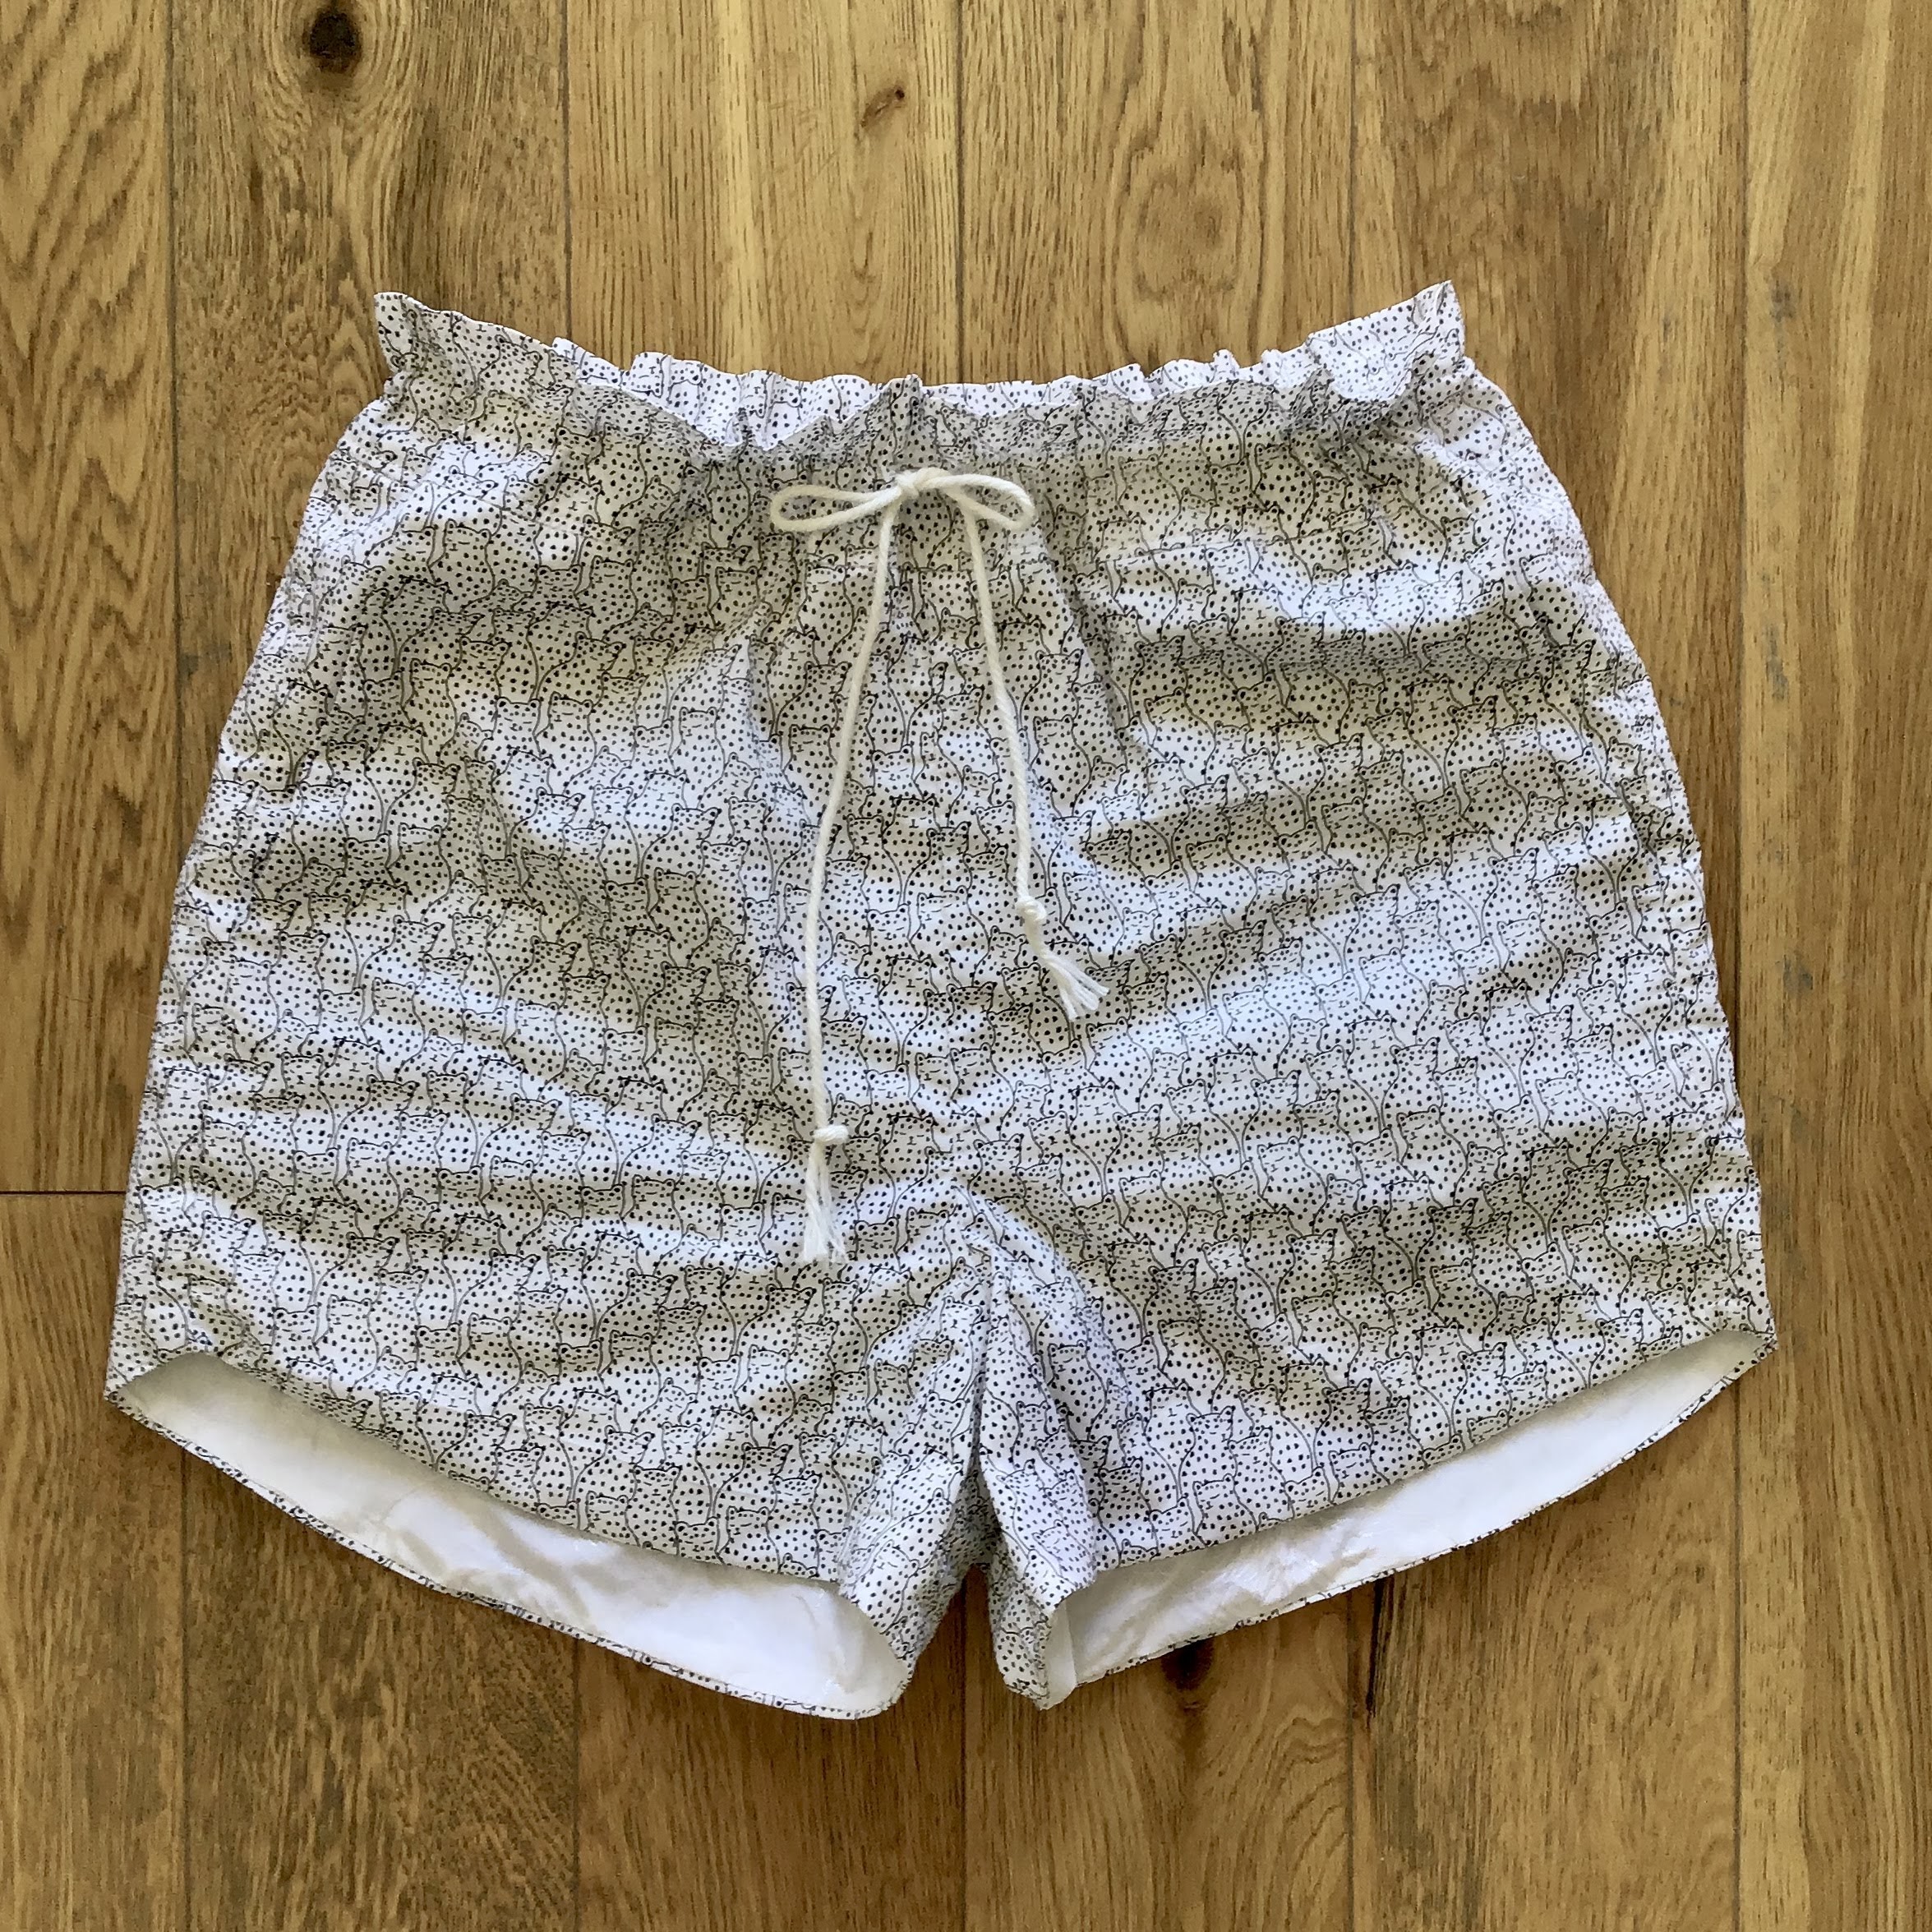
Turns out I had just enough left for a pair of Spring Shorts ! This pattern is available for free download from Peppermint Magazine. Each month they release a sewing pattern online. The Spring Shorts are from the 27th issue and you can find the download here.
I have already tried out this pattern, but the fit was too loose for me. I have a strong fear of – and bad luck with – pants. I’ve had my favorite pair of jeans for 10 years, and anytime I try to buy new pants they end up being too small or too big or the standard sizes doesn’t suit me. And when I try sewing pants, they usually don’t work out.
So using this “scrap fabric” took the pressure off for me to try my hand at this pattern again. I reduced the pattern by 2 sizes and got everything to fit on the fabric. I just love sewing with poplin; it’s super easy and fast to work with.
For the waistband, I used this rope/twine I had on hand. This was in a bag of sewing supplies I got from an antique store in the US (my favorite place to look for good deals when I’m visiting home).
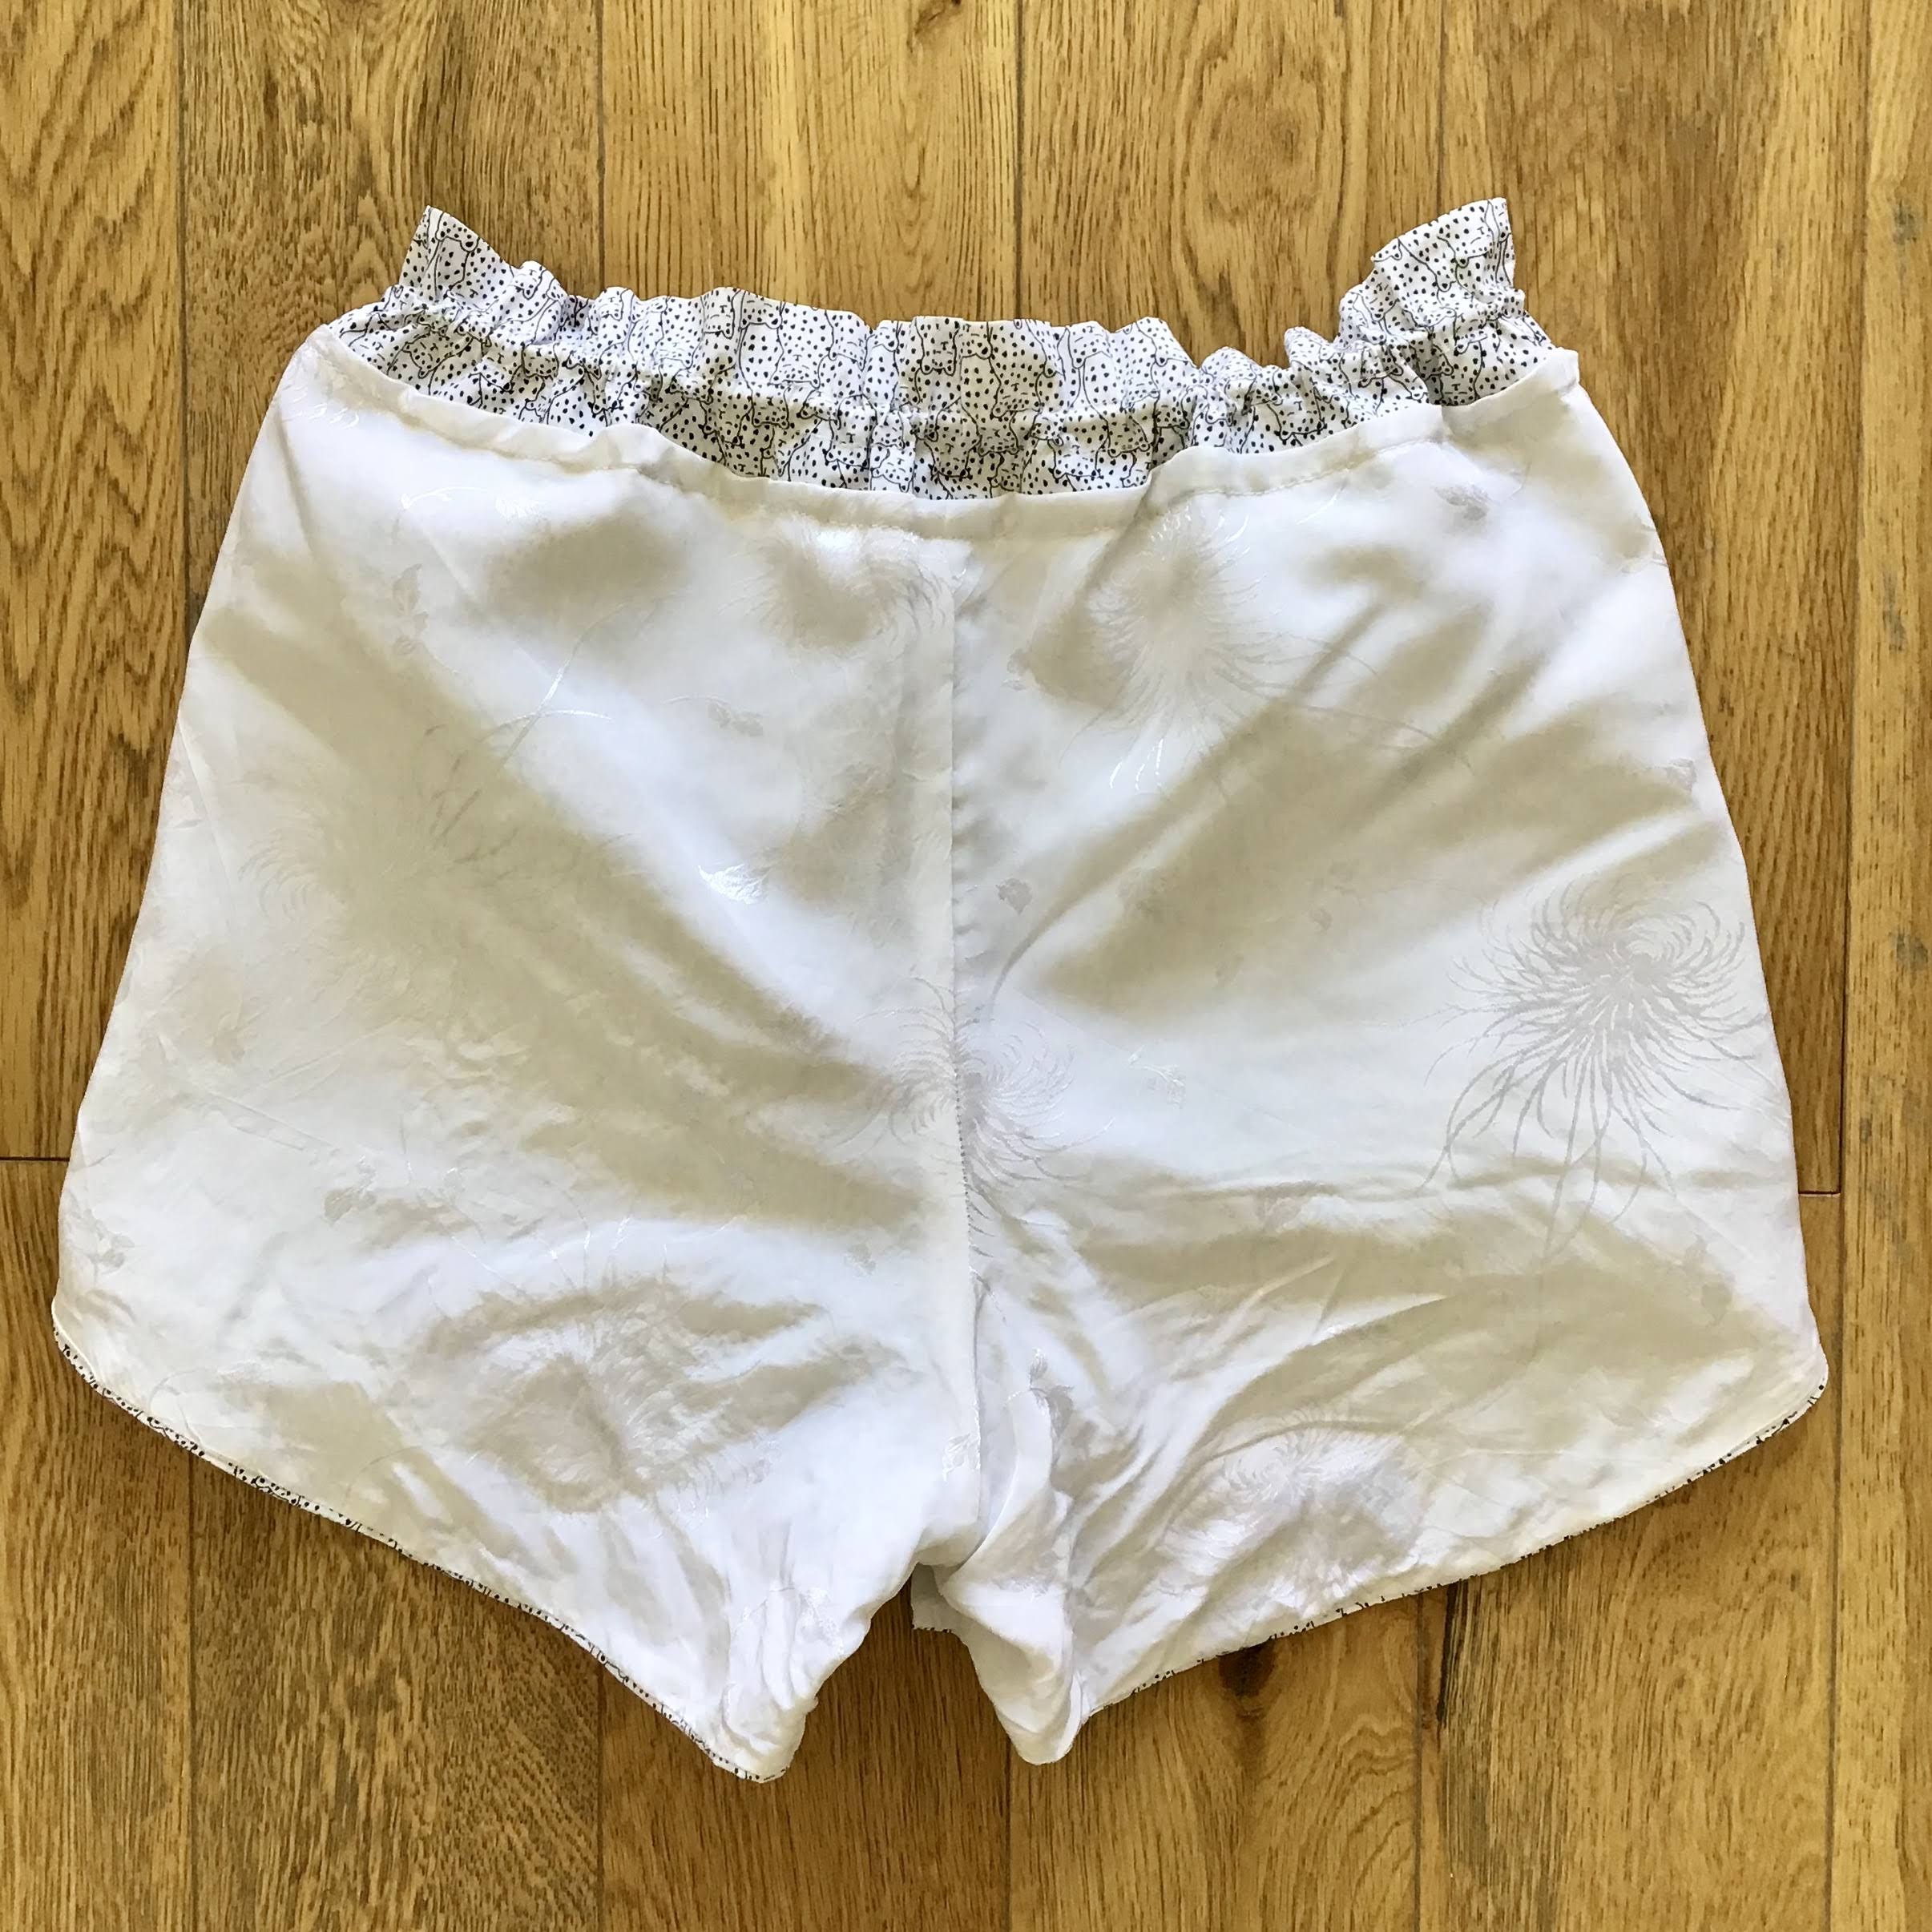
When I tried on my shorts, I realized that the fabric was a little too transparent in areas with only 1 fabric layer. Therefore I got out some other scraps of this slippery white fabric. I hadn’t used it for anything yet because there are some 90s flower designs which aren’t to my taste (I think my grandma used this a cousin’s wedding a long time ago).
To make the lining:
- Cut 2 back short pieces as usual.
- Cut 2 front pieces. Be sure to line up the pocket pieces behind them in order to have a smooth side since we don’t need pockets.
- Sew inner and outer side seams (do NOT sew crotch seam yet)
- Right sides together, sew the lining and main fabric together at the bottom hem for both legs (I use 1cm SA)
- Flip the lining to the inside of the shorts. For a smoother finish, you can clip into the SA along the curves lines, but it’s not necessary if your lining fabric is really light.
- Sew the crotch seam, making sure that the raw SA will be enclosed between the lining and main fabric.
- Fold the top of the lining down by 1cm and pin to the main fabric. It should just barely cover the seam of the waistband.
- Right side of main fabric facing up, stitch in the ditch of the waistband to secure the lining.
- Iron the lining at the bottom of the leg to make sure it lies flat, like in the photo below
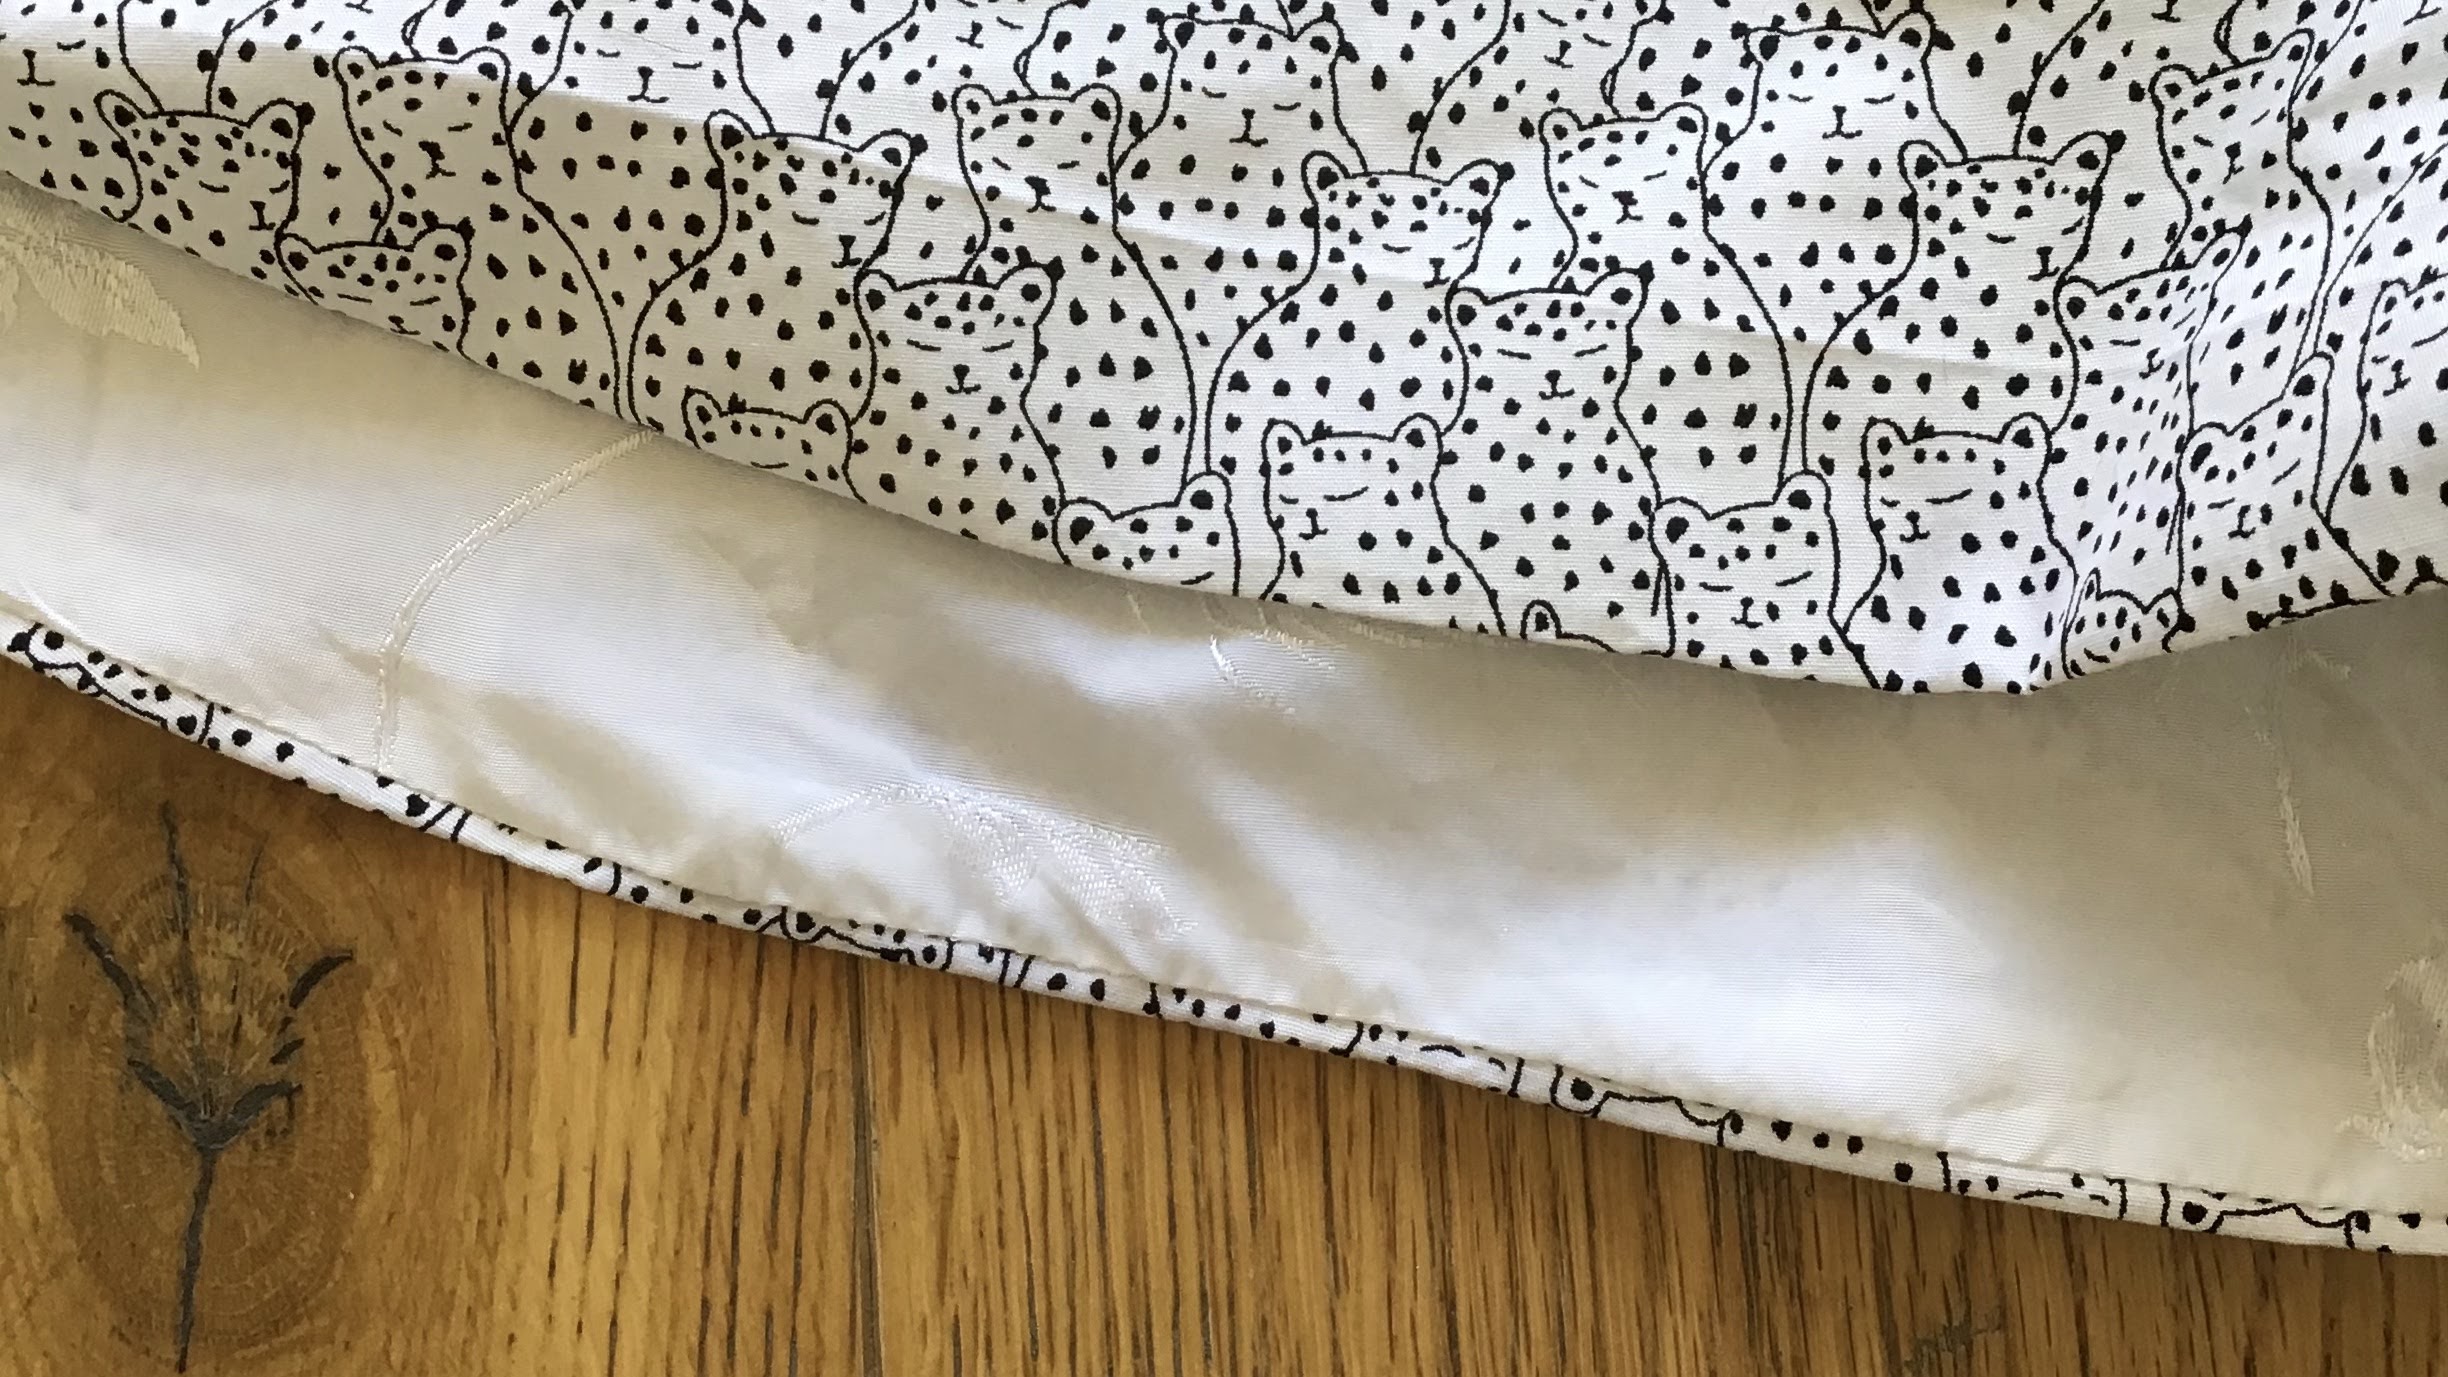
Creating your own lining is a great method to be able to use a wider range of fabrics for the pattern you want. It’s not something I do that often, but a little extra time makes a big difference. I’m not sure if my lining fabric is a rayon or other synthetic fiber, but they are super comfy to slide on and I love the clean finish at the hem !